
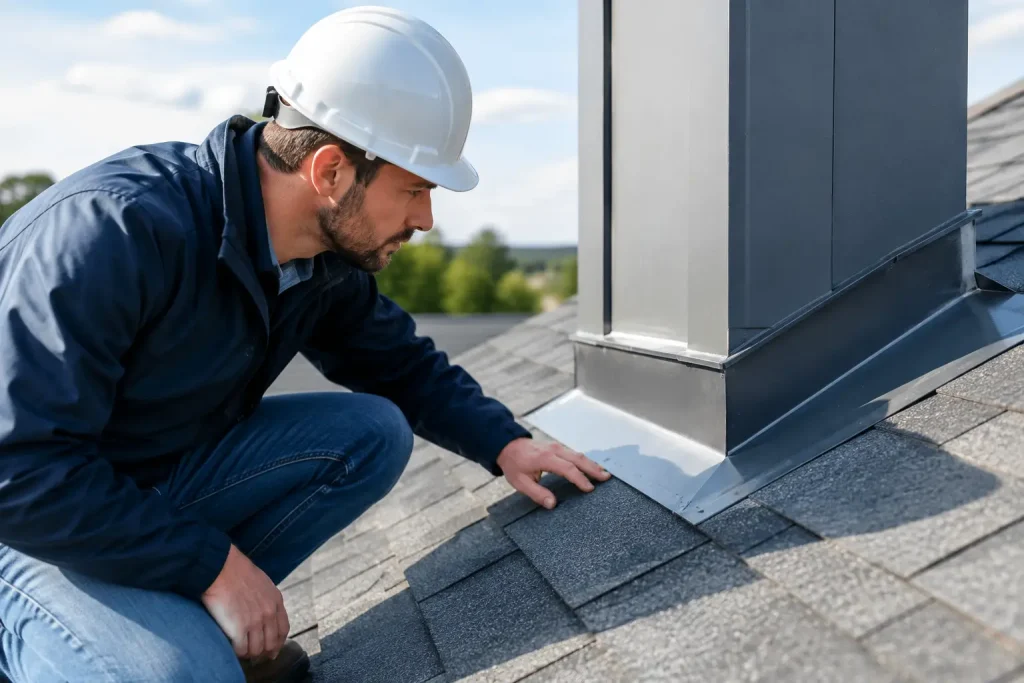
A roof leak rarely starts in the middle of a shingle field. More often, it begins where the roof changes direction or meets another surface: around a chimney, beside a wall, at a vent pipe, or in a valley. Those areas depend on flashing to move water away from vulnerable seams. Knowing how to inspect roof flashing can help you spot a small repair before Utah rain, snowmelt, wind, or ice turns it into stained drywall or damaged roof decking.
Flashing inspection does not mean every homeowner should climb onto a steep roof. A careful ground-level check, combined with an attic inspection, can reveal many warning signs. When you need a closer look, safety and professional judgment should come first.
What Roof Flashing Does and Where to Find It
Roof flashing is usually made from galvanized steel, aluminum, copper, or another corrosion-resistant metal. It creates a water-shedding barrier at roof penetrations and transitions where shingles alone cannot provide reliable protection.
Start by identifying the common flashing locations on your home. You may see it around chimneys, skylights, plumbing vents, furnace flues, dormers, roof-to-wall intersections, valleys, and the edges of the roof. Step flashing is installed in layers where a sloped roof meets a vertical wall. Counterflashing covers and protects the upper edge of chimney or wall flashing. Pipe boots are a type of flashing that seals around round vent pipes.
Each of these parts handles water differently, so a problem may look different from one area to another. A lifted pipe boot may create a small opening around a vent. Damaged chimney flashing can allow water behind masonry. Missing step flashing can cause a leak that appears inside a wall rather than directly below the roofline.
How to Inspect Roof Flashing Safely
Begin from the ground on a clear day using binoculars or your phone camera with zoom. Walk around the entire home and look at each roof section from more than one angle. Morning or late-afternoon light can make lifted edges, bent metal, and uneven roof lines easier to see.
Do not walk on a roof that is wet, icy, steep, covered with loose granules, or difficult to access safely. Utah weather can change quickly, and a fall is never worth the risk of checking a suspected leak. Even on a low-slope roof, walking in the wrong place can damage shingles or bend flashing that was still functioning properly.
If you can safely view flashing from a ladder, keep the ladder on firm, level ground and avoid stepping onto the roof unless you are trained and properly equipped. A close inspection is best handled by a qualified roofing professional when the roof is high, steep, aging, or storm damaged.
Look for Visible Gaps, Lifting, and Missing Pieces
Flashing should sit tight against the surface it protects, with no obvious openings where water can run underneath. Look for raised corners, curled edges, loose sections, missing pieces, or metal that has pulled away from a chimney, wall, skylight, or vent.
Pay close attention to step flashing along sidewalls. You may not see every individual piece because shingles cover part of the system, but the exposed metal should appear orderly and secure. If you see shingles pulling away from a wall, rust marks, loose siding, or a gap at the roof-to-wall area, water may be getting behind the flashing.
At a chimney, look for cracked mortar around counterflashing, separated caulk lines, and metal that appears bent or detached. Chimneys move slightly over time as materials expand and contract. That movement can open a path for water even when the surrounding shingles still look intact.
Check for Rust, Corrosion, and Punctures
Metal flashing should not show widespread rust, pinholes, or deep corrosion. A little surface discoloration does not always mean immediate failure, especially on an older roof, but flaky rust or holes deserve prompt attention.
Aluminum flashing can corrode when it contacts certain materials, while galvanized steel can rust after its protective coating wears down. Copper lasts a long time but may need specialized repair if it becomes damaged. Never assume that adding more sealant over corroded metal is a lasting fix. If the metal has weakened, replacement is usually the better repair.
Also look for dents, punctures, and sharp bends. Hail, falling branches, ladder impacts, and improper past repairs can all damage flashing. After a windstorm, inspect for pieces that have lifted or shifted, particularly near chimneys, vents, and roof edges.
Examine Sealant, But Do Not Rely on It Alone
Sealant is often used at specific flashing joints, fasteners, and penetrations. Check for sealant that is cracked, dry, shrinking, peeling, or missing. Fresh-looking patches of roof cement or caulk can also be a clue that the area has leaked before.
Sealant has a limited service life because sun exposure and temperature swings eventually cause it to break down. It should support a properly installed flashing system, not replace one. A large bead of caulk covering an open gap, loose metal, or exposed nail may stop water temporarily, but it can trap moisture or hide a more serious installation problem.
This is one reason a quick do-it-yourself patch can be a trade-off. It may buy time during a storm, but an incorrect repair can make professional diagnosis harder later. If water is actively entering the home, protect the interior and arrange for an inspection as soon as conditions allow.
Inspect the Attic and Interior for Clues
Roof flashing leaks are not always visible from outside. In the attic, use a flashlight to inspect the underside of the roof around chimneys, vents, skylights, and exterior walls. Look for damp sheathing, dark water trails, mold-like staining, wet insulation, rusty nails, or daylight coming through an opening.
Inside the home, check ceilings and walls near roof transitions. Brown stains, bubbling paint, peeling drywall tape, damp trim, or a musty odor may point to water intrusion. Remember that water can travel along rafters, framing, or insulation before it becomes visible, so the stain is not always directly below the damaged flashing.
Take photos and note when you notice the issue. Does it happen only during wind-driven rain? Is it worse after snow begins to melt? Those details can help a roofer identify whether the problem involves flashing, shingles, ventilation, ice buildup, or another roofing component.
Areas That Need Extra Attention in Utah
Utah roofs deal with intense sun, temperature swings, snow loads, and wind. Those conditions can stress flashing over time. Freeze-thaw cycles can crack sealant and masonry joints around chimneys, while ice and snow can expose weaknesses at valleys and roof-to-wall connections.
If your home has solar panels, inspect the roof areas around mounting points from the ground and watch for interior signs of leakage. Solar systems should be integrated carefully with the roof, and any concern around penetrations deserves a professional evaluation. Do not remove panels or disturb mounting hardware to check flashing yourself.
Older homes and roofs near the end of their expected service life also need closer attention. Flashing may outlast shingles in some cases, but it can also be damaged during previous repairs or become incompatible with a newer roof system. The right repair depends on the condition of both the flashing and the surrounding roofing materials.
When to Schedule a Professional Inspection
Call for a professional roof inspection if you see loose or corroded flashing, missing shingles near a flashing area, recurring ceiling stains, active dripping, or damage after wind or hail. You should also schedule an inspection if you are preparing to sell your home, buying an older home, or have not had the roof checked in several years.
A professional can assess areas that are unsafe or impossible to see from the ground, determine whether flashing can be repaired, and explain when replacement is the more cost-effective option. At Big West Roofing, we believe homeowners deserve clear answers, practical options, and repairs that address the source of a leak instead of simply covering it up.
A few minutes spent watching the roof after the next rainstorm can tell you a lot. If something looks out of place or a stain appears inside, acting early gives you the best chance to keep a manageable flashing repair from becoming a larger roofing project.