
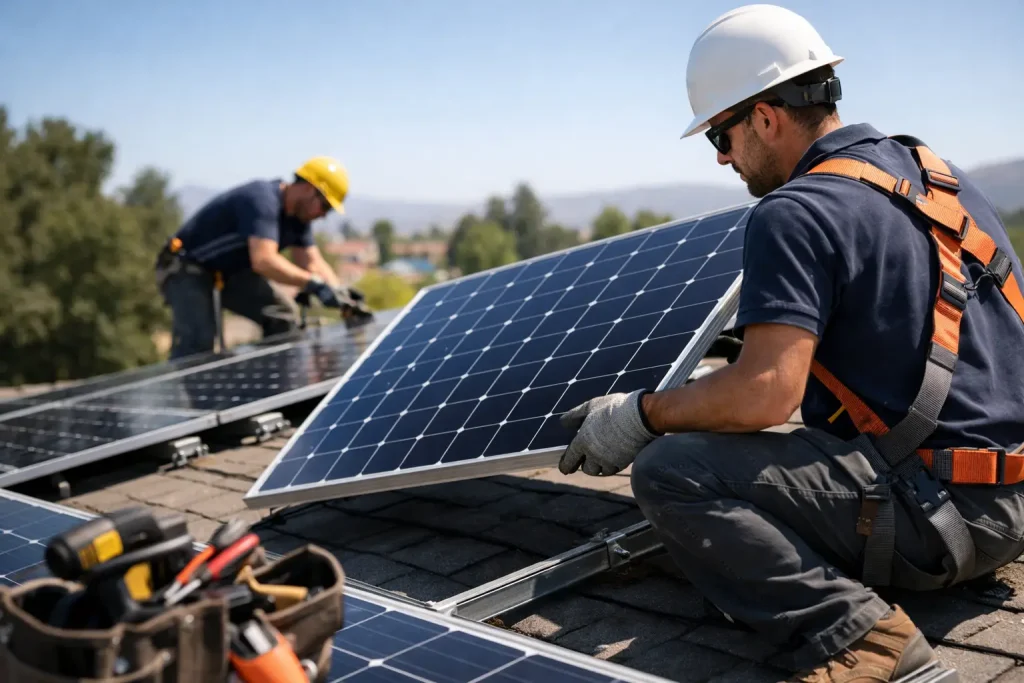
A roof replacement should protect your home for decades, not create a problem with the solar system that sits above it. The solar panel removal process is a coordinated job that safely disconnects and removes your panels, gives roofers clear access to the roof, and prepares the system for proper reinstallation after the roofing work is complete.
For Utah homeowners, timing matters. A leaking roof, hail damage, worn shingles, or an aging roof may require action before a small issue reaches the decking or attic. Solar panels are built to withstand the elements, but they cannot simply stay in place while a roof is repaired or replaced. Careful planning protects both major investments.
Why Solar Panels Need to Come Off for Roofing Work
Solar panels and their racking are attached to the roof through a mounting system. Although the visible panels cover only part of the roof, the mounts, wiring, flashing, and rails affect the areas a roofing crew needs to inspect and replace. Trying to roof around the system can leave old materials, hidden damage, or weak flashing beneath it.
A full roof replacement almost always calls for panel removal. For a small repair, it depends on the location of the issue. If a leak is well away from the solar array, removal may not be necessary. If the repair is near mounting points, electrical wiring, or covered shingles, temporary removal is often the safest and most reliable option.
Removing the panels first allows the roofing team to evaluate the entire roof surface. It also gives the solar team a chance to inspect mounts and penetrations before the new roofing system goes on. That coordination can prevent future leaks and avoid paying to remove the panels a second time.
The Solar Panel Removal Process Step by Step
The work should be handled by trained professionals who understand both roofing and solar equipment. Solar components produce electricity whenever they receive sunlight, so this is not a job for a homeowner or a general handyman.
1. Inspection, planning, and system review
Before work begins, the contractor reviews the roof condition, panel layout, access points, and the scope of the roofing project. The team should identify the type of roof, whether it is shingle, metal, or membrane roofing, and note any visible storm damage or areas of concern.
They will also review how the solar system is configured. Systems vary. Some have a central inverter, while others use microinverters at individual panels. Batteries, monitoring equipment, disconnects, and utility requirements can also affect the plan.
This is a good time to ask for a clear written scope. Homeowners should understand who is responsible for removal, roof repairs, storage, reinstallation, inspections, and any permit or utility coordination that may apply.
2. Safe shutdown and electrical disconnection
The solar system is shut down following the manufacturer’s recommended sequence and applicable electrical safety practices. This typically includes turning off AC and DC disconnects and verifying that the system is no longer operating before equipment is handled.
Even after a system is shut down, solar wiring and panels require careful handling. Qualified technicians label connections, protect wiring, and document the system layout. Good documentation makes reinstallation more efficient and helps ensure each component returns to its proper place.
3. Panel, rail, and mounting removal
Technicians remove the solar panels from the racking, then carefully take down rails and related hardware. Panels are moved and stored upright in a secure area where they are less likely to be scratched, cracked, or exposed to unnecessary impact.
The mounting attachments and flashing are then removed as needed. This is an important part of the process because every former attachment point needs to be properly addressed during the roofing work. The goal is not just to remove hardware. It is to restore a continuous roofing system that sheds water correctly.
4. Roof repair or replacement
With the solar equipment out of the way, roofers can inspect the full roof deck and underlying materials. If there is soft decking, water damage, failing flashing, or storm-related damage, those issues can be addressed before new roofing materials are installed.
For a replacement, the old roofing is removed and the new system is installed according to the roof’s needs. Details around valleys, vents, chimneys, and transitions matter just as much as the shingles or metal panels themselves. A new roof should provide a clean, reliable surface for the solar mounting system.
If insurance is involved after wind or hail damage, photographs and documentation from the inspection can help support the claim. Every policy is different, so coverage for the roof, solar removal, and related work depends on the policy and cause of loss.
5. Reinstallation and final testing
Once the new roof is ready, the solar system is reinstalled using compatible mounting and flashing methods. The array should be aligned correctly, hardware should be secured to the proper structural locations, and wiring should be protected from damage and weather exposure.
The system is then reconnected and tested. Technicians confirm that the system powers up correctly and that monitoring is communicating as expected. Depending on the scope of work and local requirements, inspections or utility approvals may be needed before the system returns to normal production.
How Long Does Solar Panel Removal Take?
For many homes, removal can be completed in one day, with reinstallation scheduled after the roof work is finished. The full timeline depends on the size of the solar array, roof complexity, weather, crew scheduling, material availability, and whether repairs uncover damaged decking.
A straightforward asphalt shingle replacement with a modest solar array may move quickly. A steep roof, a large array, a commercial property, battery storage, or extensive hail damage can add time. In Utah, snow, high winds, and sudden weather changes can also affect safe scheduling.
The best approach is to coordinate the solar and roofing schedules before materials arrive. That reduces the time your panels are off the roof and helps prevent avoidable gaps between removal, roofing, and reinstallation.
Questions to Settle Before Work Begins
Not every solar setup is owned the same way. If you purchased the system outright, you generally have more flexibility in choosing qualified contractors. If the system is leased or financed through a solar provider, review your agreement before authorizing removal. Some providers require notice, approved installers, or specific documentation to preserve equipment and production warranties.
Ask about warranties on the new roof, solar workmanship, and any roof penetrations used for the mounting system. Also ask how panels will be stored, who will handle permits if required, and whether the contractor will test the system after it is reinstalled.
Price is another consideration, but the lowest removal quote is not always the best value. A contractor who has a clear plan for electrical safety, roof flashing, equipment handling, and post-install testing can help you avoid costly repeat work later.
Choosing the Right Team for the Job
Roofing and solar work overlap at one of the most vulnerable parts of your home: the roof surface. Choose professionals who communicate clearly about which team handles each part of the project and who will be your point of contact if questions arise.
At Big West Roofing, we believe homeowners deserve straightforward answers before work starts. A thorough roof inspection can clarify whether your panels need to be removed, whether storm damage may be affecting the roof beneath them, and what a practical project timeline looks like.
If your roof is nearing the end of its life, do not wait for a small leak to become a larger repair. Planning panel removal alongside roofing work gives your home a fresh start, protects your solar investment, and lets you move forward with confidence when the next Utah storm rolls in.