
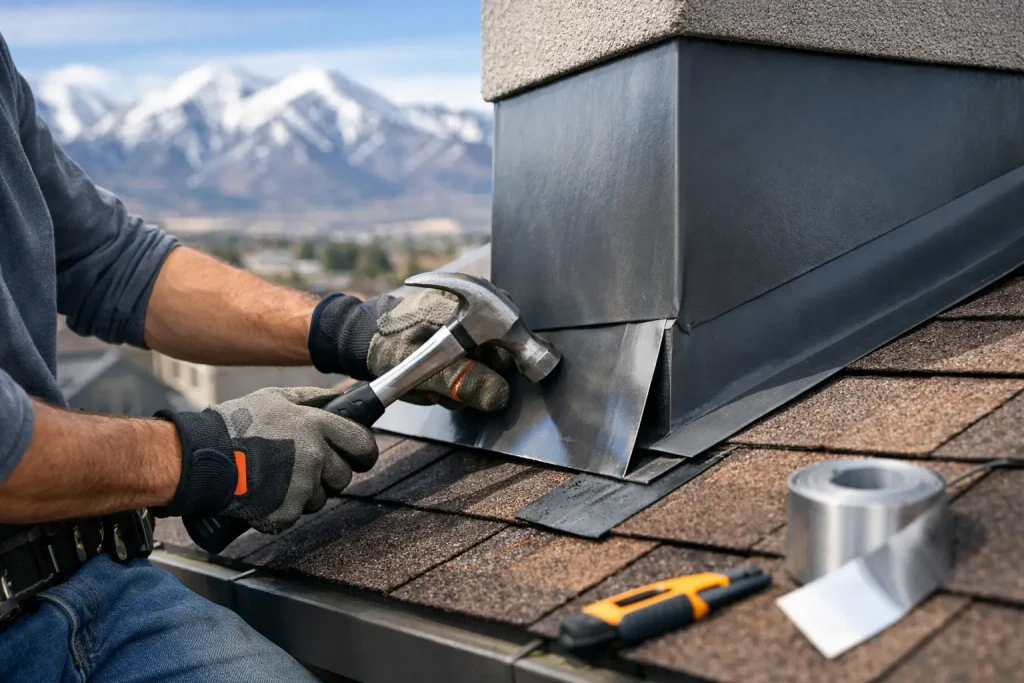
A water stain near the chimney, a damp spot in the attic, or a drip after a hard Utah storm can point to a flashing problem. The roof flashing repair cost is usually far less than the cost of repairing water-damaged decking, insulation, drywall, or framing later. The key is finding the source early and repairing the flashing correctly instead of covering up the symptom.
Flashing is the metal or waterproof material installed where the roof meets a chimney, wall, skylight, vent pipe, valley, or other transition. Those intersections handle a lot of water, snow, wind, and temperature changes. When flashing loosens, rusts, cracks, or pulls away from the roof, water can work beneath the roofing materials and into the home.
Roof Flashing Repair Cost: What Changes the Price
For many homeowners, a straightforward flashing repair may fall in the range of a few hundred dollars. More involved work can run from $800 to $1,500 or more when the damaged area is large, access is difficult, surrounding shingles must be replaced, or hidden water damage is found. A roof inspection is the best way to get a clear, honest number for your specific roof.
The location of the flashing matters. Replacing a small piece around a plumbing vent is generally less labor-intensive than repairing chimney flashing or flashing along a second-story wall. Chimneys require several connected pieces of flashing, and the repair may involve removing roofing materials, addressing deteriorated mortar, and installing new metal so water sheds properly.
Roof pitch and accessibility also affect labor. A low-slope, single-story roof is usually easier to work on than a steep roof with multiple levels, solar panels, limited access, or a complex roofline. Contractors must safely reach the damaged area, remove materials without harming the surrounding roof, and restore the system so it performs through future storms.
Material choice is another factor. Galvanized steel, aluminum, copper, and specialty flashing products have different price points and performance characteristics. In many cases, the right choice depends on the existing roof, nearby metals, climate exposure, and the homeowner’s long-term plans. The least expensive material is not always the best value if it will corrode or fail sooner in that application.
What a Proper Flashing Repair Includes
A reliable repair is more than applying roofing cement around a leak. Sealant can have a place in a properly detailed roofing system, but it should not be used as a shortcut for missing, bent, or improperly installed flashing.
First, the roofer identifies where water is entering. Water can travel along decking or framing before it appears inside, so the visible ceiling stain is not always directly below the problem. The inspection should include the roof surface, flashing details, shingles or membrane around the area, attic conditions when accessible, and signs of prior repairs.
Next, damaged flashing and compromised roofing materials are carefully removed. The contractor checks the roof deck for softness, rot, or staining that could indicate a longer-term leak. If the deck is sound, the new flashing can be installed with the correct overlaps, underlayment integration, and fastening pattern. If water has damaged the deck, that portion needs repair before new roofing materials go back on.
Finally, the surrounding shingles, metal panels, or membrane are restored. This step matters because flashing works as part of the entire roof system. A repair that looks tidy but does not direct water over the next layer of roofing can still leak when rain, snowmelt, or wind-driven weather hits.
When Repair Is Enough and When It Is Not
A localized repair often makes sense when the rest of the roof is in good condition. For example, a few loose pieces of step flashing beside a wall, a failed vent flashing boot, or storm-damaged flashing around a chimney may be repairable without replacing the whole roof.
However, flashing trouble can also reveal that the roof is reaching the end of its service life. If shingles are brittle, curling, missing granules, or repeatedly leaking in different areas, investing in several isolated repairs may not be the most cost-effective option. A roof replacement gives the contractor the opportunity to replace all flashing details, underlayment, and vulnerable transitions as one coordinated system.
It depends on the age of the roof, the extent of the leak, and whether the issue is isolated or recurring. A trustworthy contractor should explain both options clearly, including the immediate repair cost and the likely long-term value of replacement. You should never feel pressured into a larger project if a sound repair will protect your home.
Chimney flashing deserves extra attention
Chimney flashing is one of the most common sources of roof leaks because it sits at a major interruption in the roof plane. It must manage runoff from above the chimney while also sealing the sides and lower edge. On masonry chimneys, counterflashing may need to be set into mortar joints or properly secured to prevent water from getting behind the base flashing.
A small chimney flashing repair can be manageable. But if the chimney masonry is deteriorating, the roof decking is wet, or surrounding shingles are worn out, the project becomes more involved. That is why two homes with what appears to be the same leak may receive very different estimates.
Can Homeowners Insurance Help With Flashing Repairs?
Insurance may help when flashing damage is caused by a covered event, such as wind, hail, or a fallen tree. Coverage depends on your policy, deductible, the cause of damage, and the condition of the roof before the storm. Wear from age, poor maintenance, and long-term deterioration are commonly handled as homeowner expenses rather than insurance claims.
After a major storm, take photos of visible damage if it is safe to do so and schedule a professional inspection. A roofing contractor can document storm-related damage and explain what was found. Big West Roofing can also help homeowners understand the repair scope as they work through the insurance process. The goal is straightforward documentation and a repair plan that protects the property, not unnecessary claim filing.
How to Keep Flashing Costs From Growing
The most affordable repair is often the one completed before water reaches the interior of the home. Check your attic after heavy rain or rapid snowmelt for damp insulation, water marks, musty smells, or darkened wood. From the ground, look for lifted shingles, exposed metal, rust stains, or debris collecting behind chimneys and walls.
Keep gutters clear and make sure downspouts move water away from the foundation. Overflowing gutters can keep roof edges wet and worsen problems near eaves, fascia, and lower flashing details. Trim branches that rub against the roof or drop heavy debris into valleys.
Most importantly, do not wait for a small ceiling stain to become a major leak. Fast inspection and repair can preserve the roof deck, reduce the chance of mold or interior damage, and give you more control over your repair budget.
If you have noticed a leak or suspect damaged flashing, a professional inspection can replace uncertainty with a clear plan. A good roofing partner will show you what is happening, explain what the repair involves, and help you make a practical decision for your Utah home.